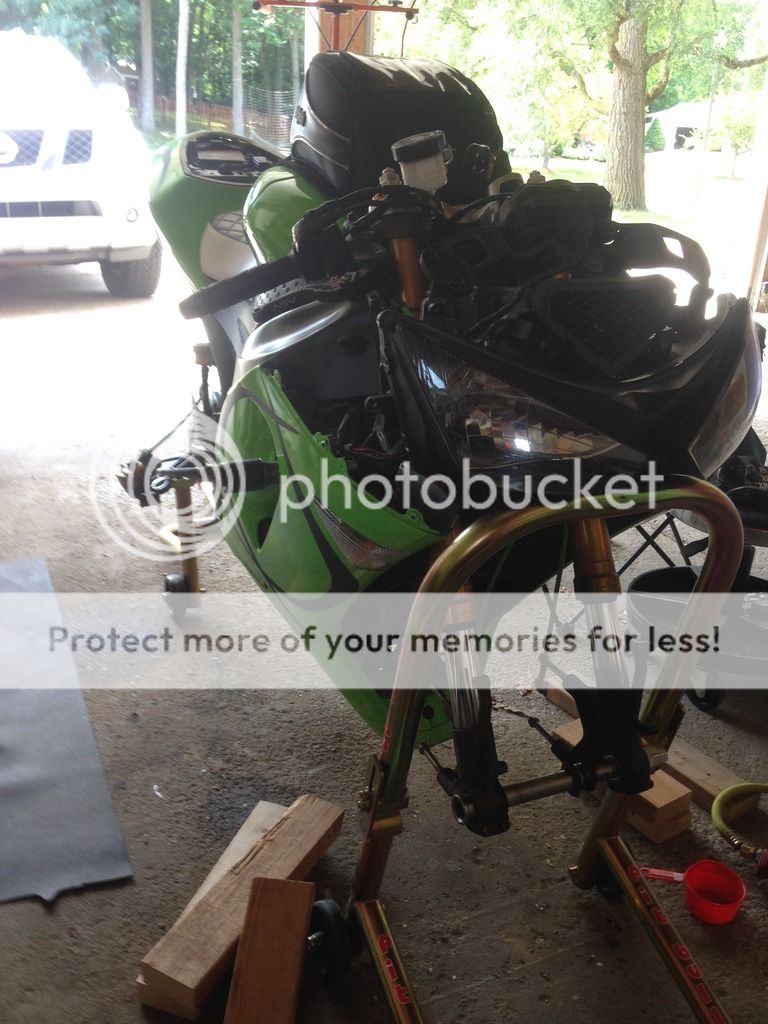
 Recently I warped a brake disc. Turns out that even a VERY minor warping of one of those front discs causes significant wobble and shake while braking - I knew this in principle, but not having ever actually experienced it, I didn't have a full understanding. Within about 50 miles, I went from everything being perfectly fine and normal to being afraid to use my front brakes - and nothing odd happened to cause this as far as I know...it just happened.
 |
| My garage buddy for the day :) |
So, thanks to PowerGroove from zx6r.com for selling me a full brake system off a 2012, I decided to resell the master cylinder I had previously purchased and planned on swapping to (from a 2007 ZX6R) and just put on the the whole 2012 setup since I had to pull the discs off anyway.
This is not really a how-to since the whole process is INCREDIBLY easy. I'm more writing this to let people know that this is a really quite easy project to improve an 05/06 ZX6R and that it is a direct swap of ALL parts! I literally just unbolted the old stuff and bolted on the new stuff. The only old parts I kept were the bracket for the reservoir and the stainless steel brake lines that I already had on my 2005. So, all told, I swapped over the master cylinder, the reservoir and rubber hose to the MC, the calipers, and the rotors.
It took me about a week and a half to actually get it done, but that was due to some extra steps I put in and because I only have a bit of time here and there while the baby is napping (actually, work was more of the problem than the kid...). I also had new tires put on after I took the wheels off and swapped the rotors, so that took a couple days as well. Seriously though, I'd bet that even with the extra time I put in that most people wouldn't, I probably only spent about 3-4 hours on this.
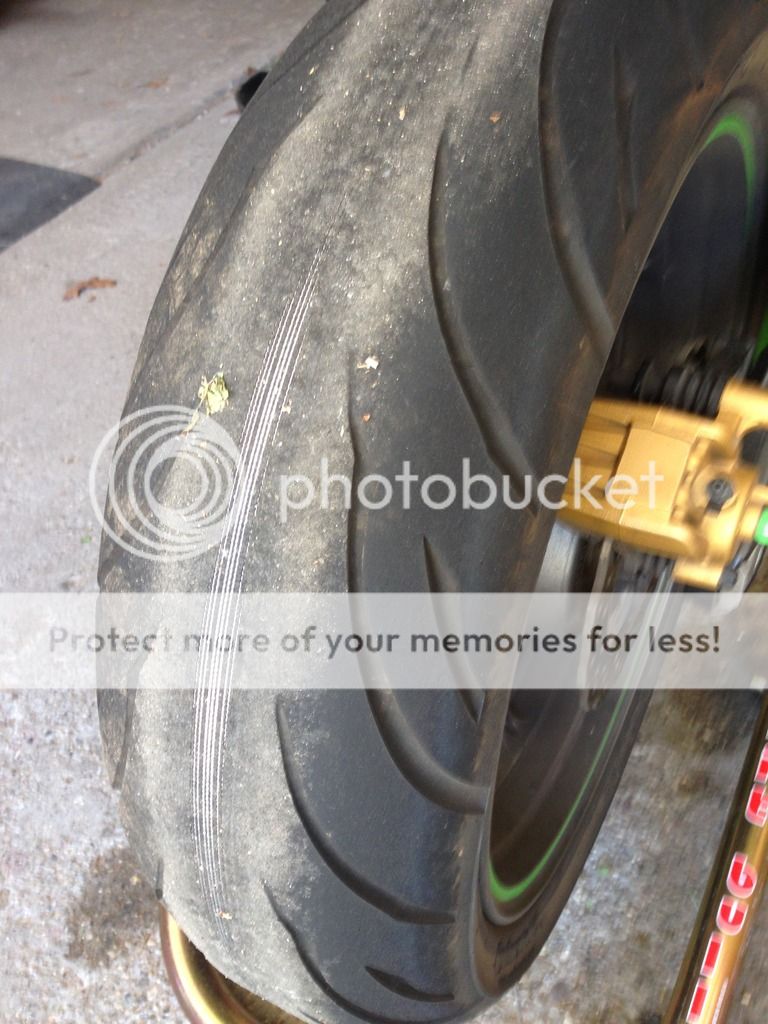
Since I was pulling the front wheel anyway, I also decided to get new tires put on...a rear was BADLY needed ----->
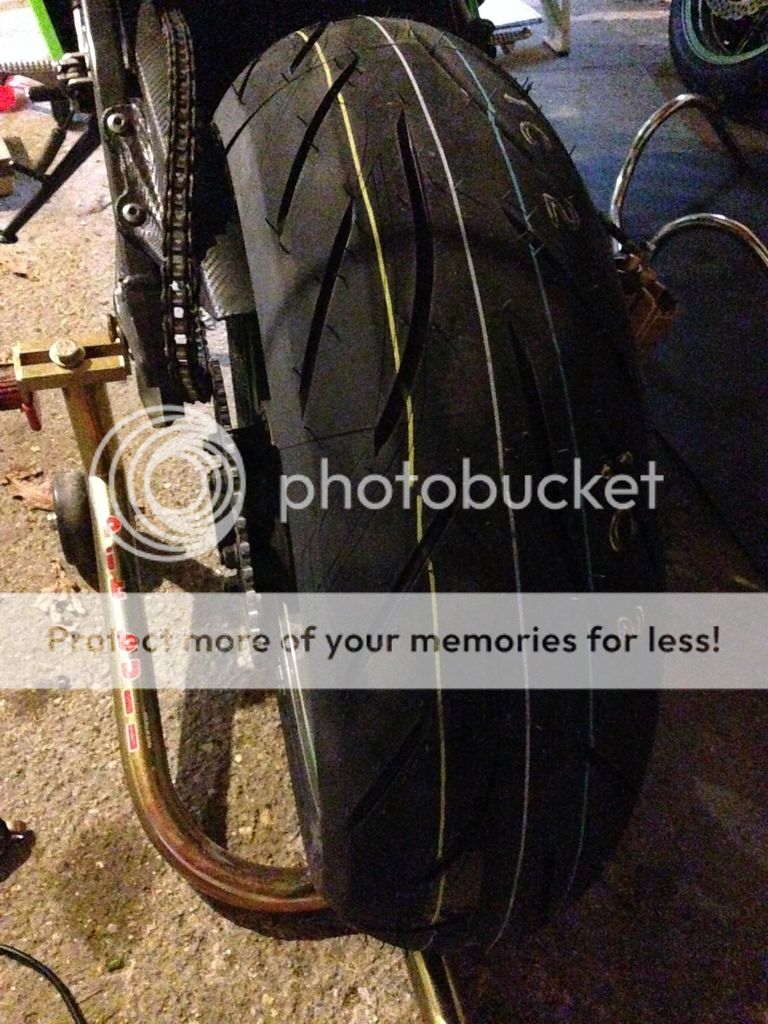
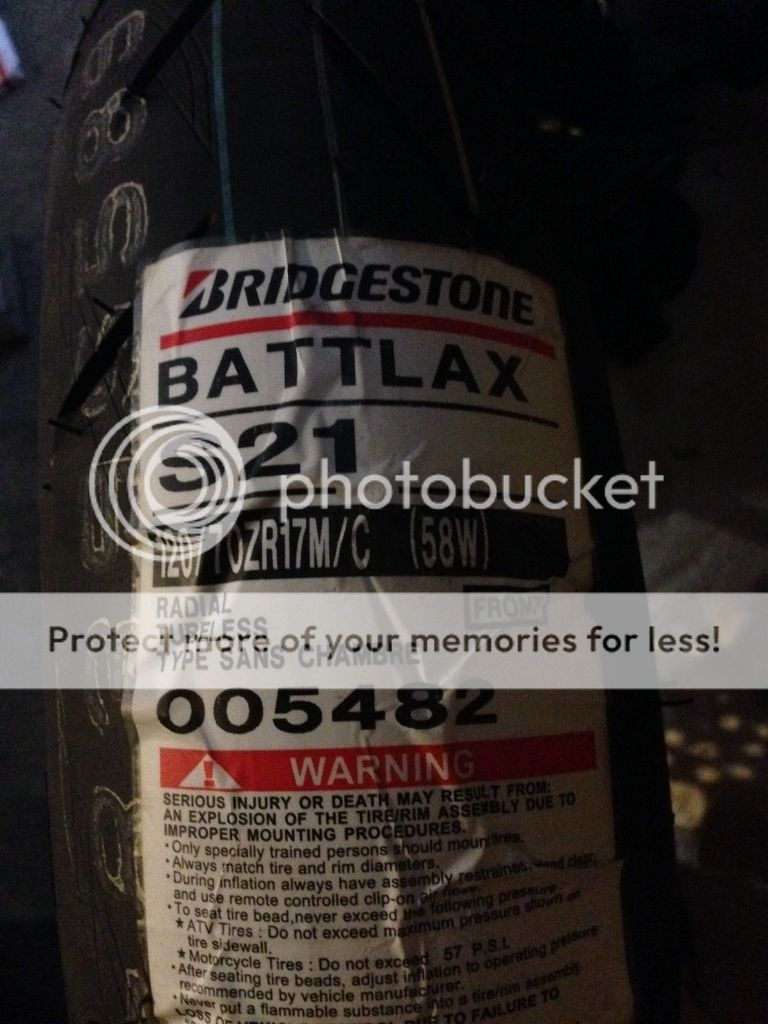
So, for new rubber, I went with Bridgestone Battlax S21s based on some recommendations and hoping I like them...I guess we'll see:
I know some will disagree with this, but the other steps I mentioned above were related to the color of the brakes. I know many other owners don't, but I really love the gold accents that came stock on my bike and didn't want to lose that on the front brakes, so I decided to make it happen with the replacements as well. I used a high temp chemical resistant engine enamel on them so I hope it holds up long term...if not, I guess I'll have to figure something else out:
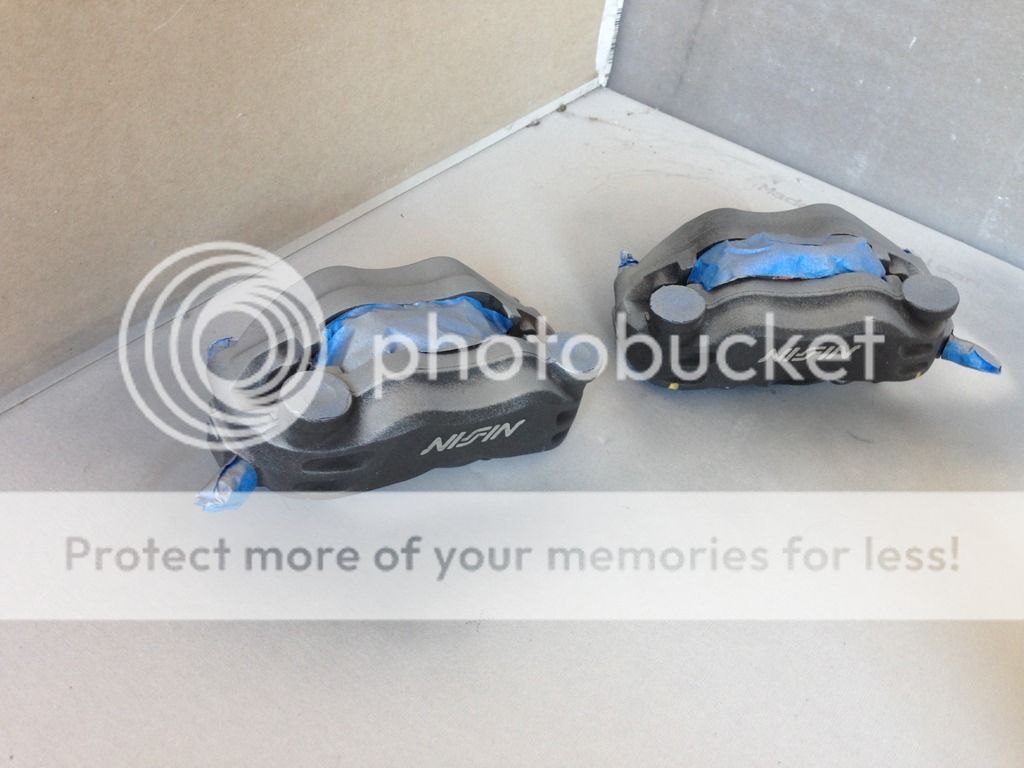 |
| I forgot to take a picture completely before I started painting... |
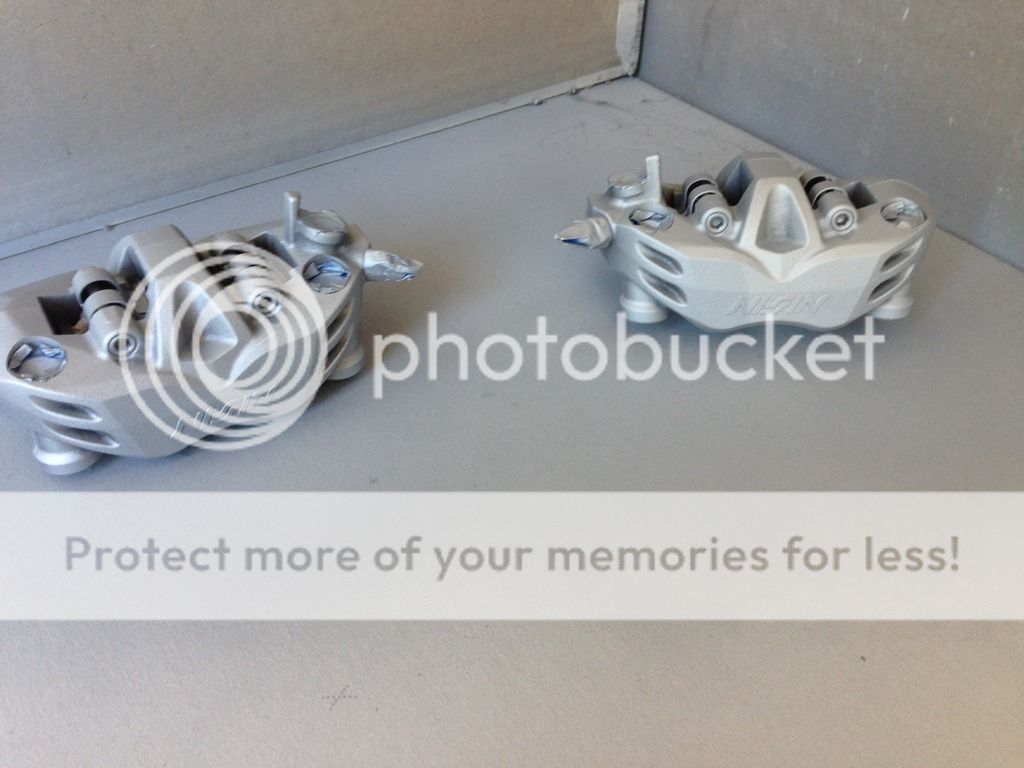 |
| I did a silver base coat before putting on the gold |
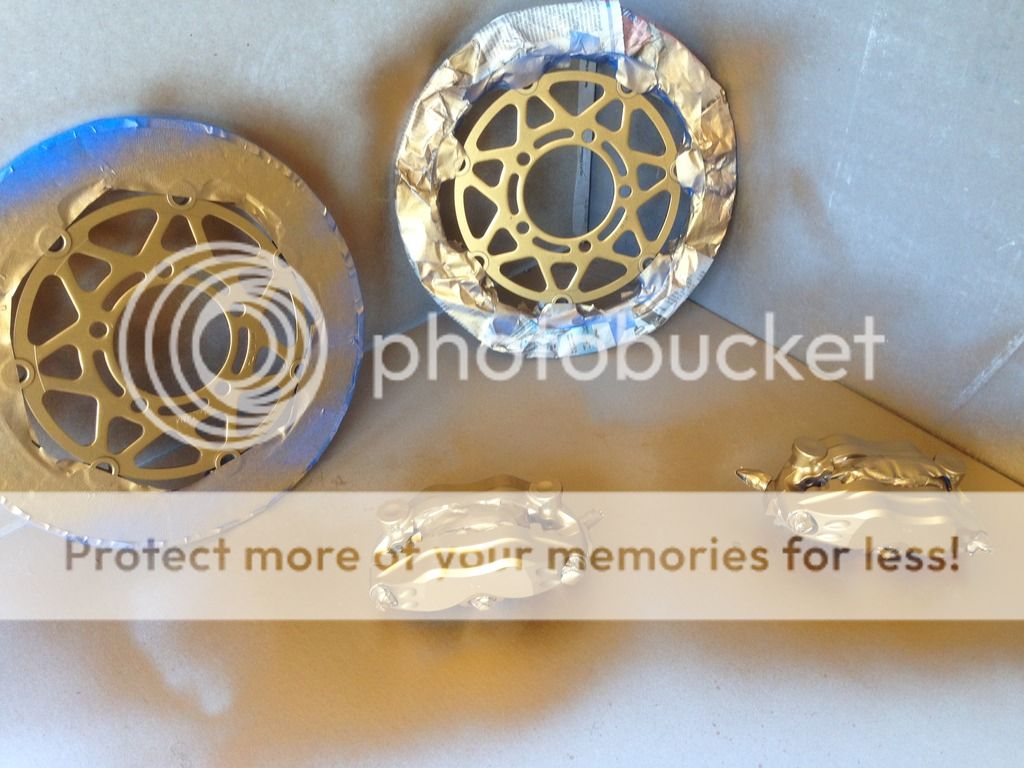
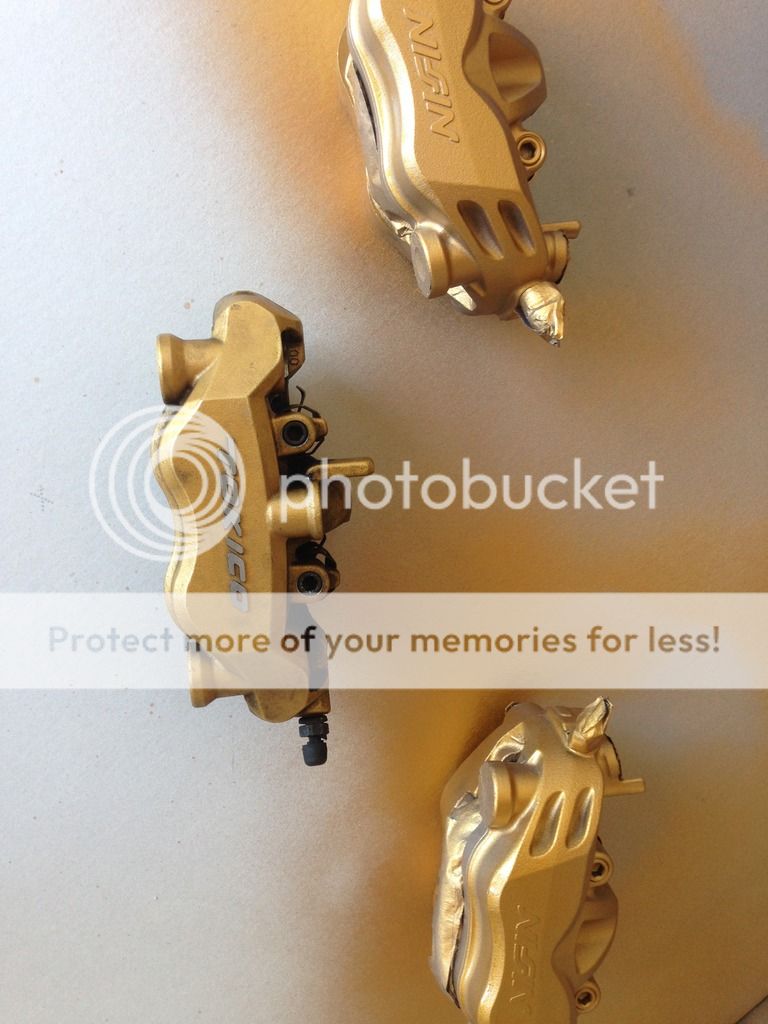
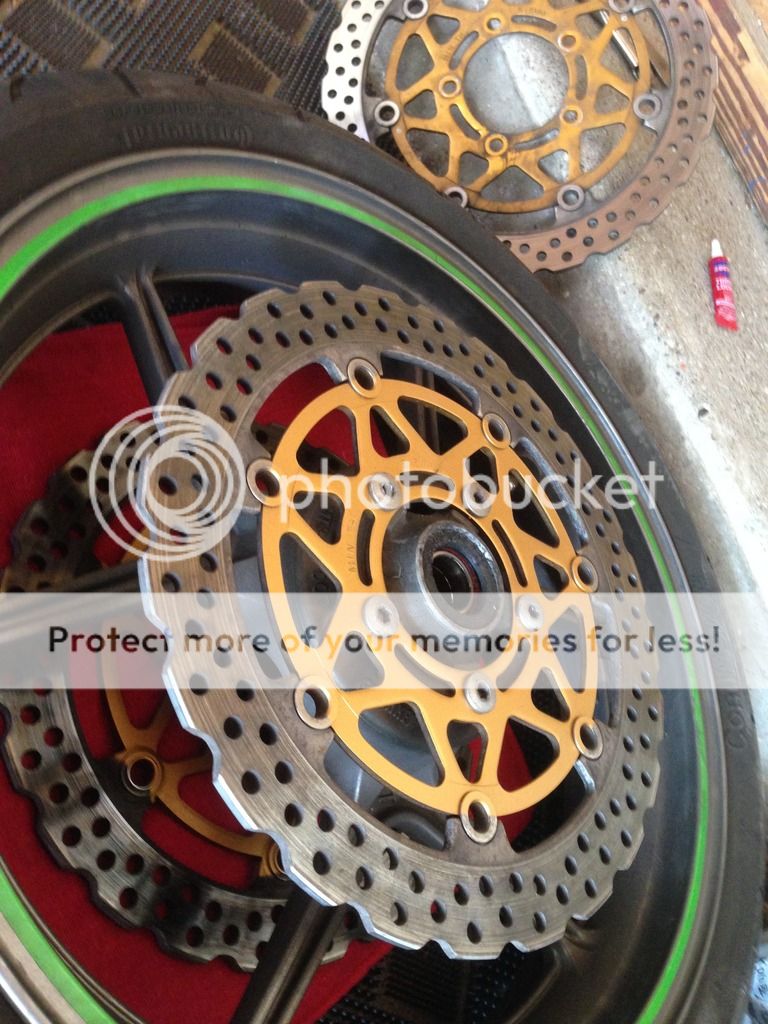
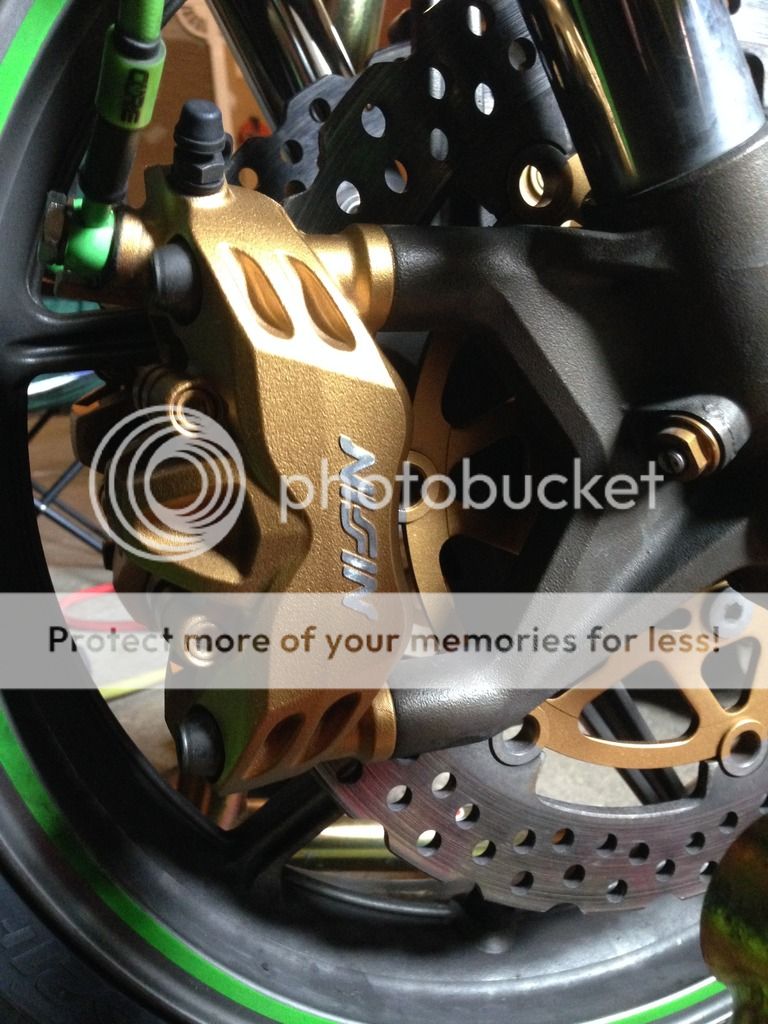
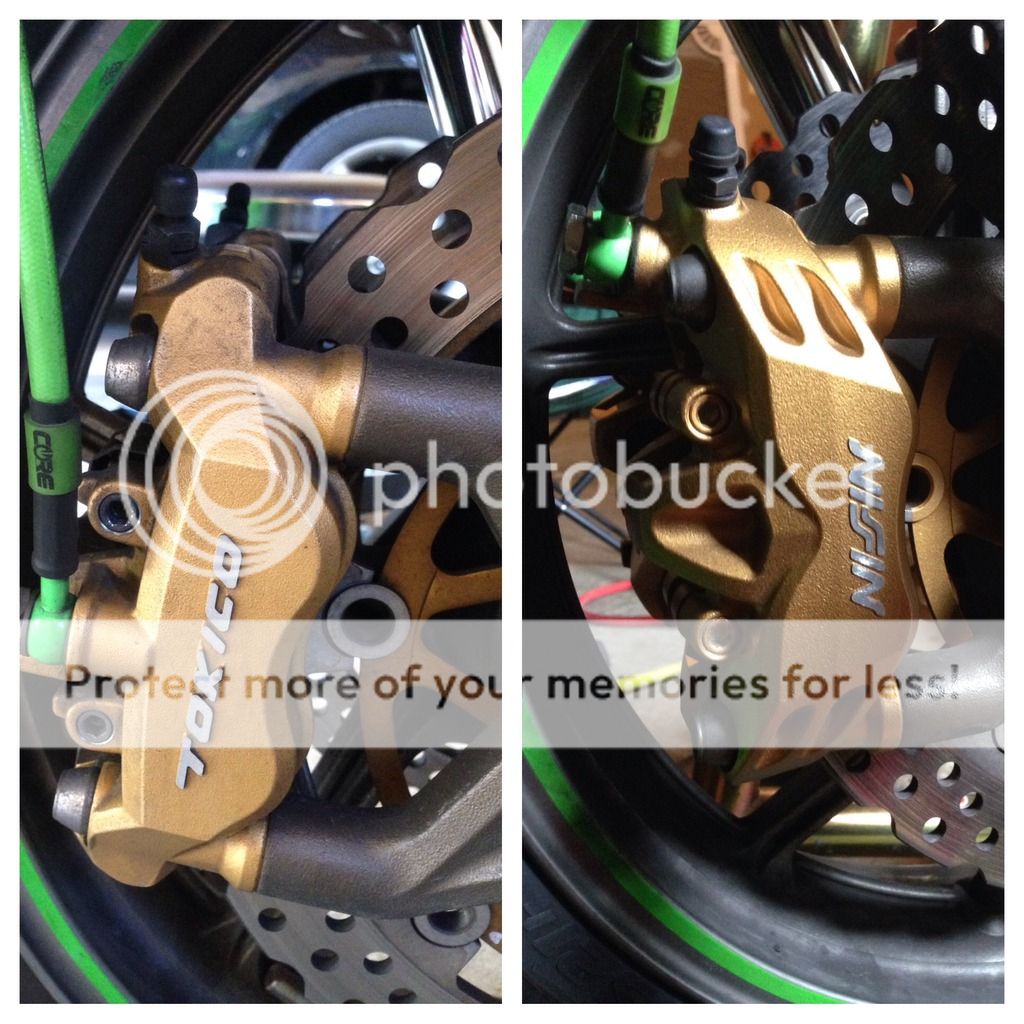
Caliper (and color) comparison:
Having just gone out for about an hour ride and I'm super happy with how everything feels. The tires are absolutely spectacular - felt like the bike was glued to the road!
As for the brakes, well, I'm glad I wasn't expecting to be shocked by the difference. They are certainly better than they were, but they aren't THAT much better. I don't feel like there is any noticeable difference in stopping power while max braking, but that's a little hard to compare 2 weeks apart, so maybe there is and I'm just not noticing it. Honestly, I don't really care about that, though, because my previous brakes had enough overall braking power to lock up the front if I used them wrong...I don't really need more than that, do I?
Anyway, the lever feel, on the other hand, is a huge improvement. It is so much more linear and predictable than it was previously. I don't know how to expand on it more than that, but the brakes feel great!
Overall, if you've got an 05/06, I'd say it's worth the relatively modest price to upgrade the brakes


