I'm told that this is useful at the track to avoid hitting your toe on the ground when trying to upshift in a left-hand corner (makes sense, but never experienced that myself). For me, it seemed like an interesting idea after riding for a couple years because timing of upshifting is so much more critical than downshifting (for me).
Well, after thinking about it some, I decided to try it out on my 2005 ZX6R and it turns out it's a lot easier than everyone I had talked to made it seem. I was told by numerous people that it can't be done easily (like it can on many other ZX6R's) on the 05/06 ZX6R's because the frame gets in the way of the shift linkage. While this is true to some extent, the frame getting in the way does not actually preclude doing the conversion. All that needs to be done is to shim the pivot point so that the linkage will clear the frame - not a big deal.
So, if you are attempting this conversion yourself, you'll need a few things:
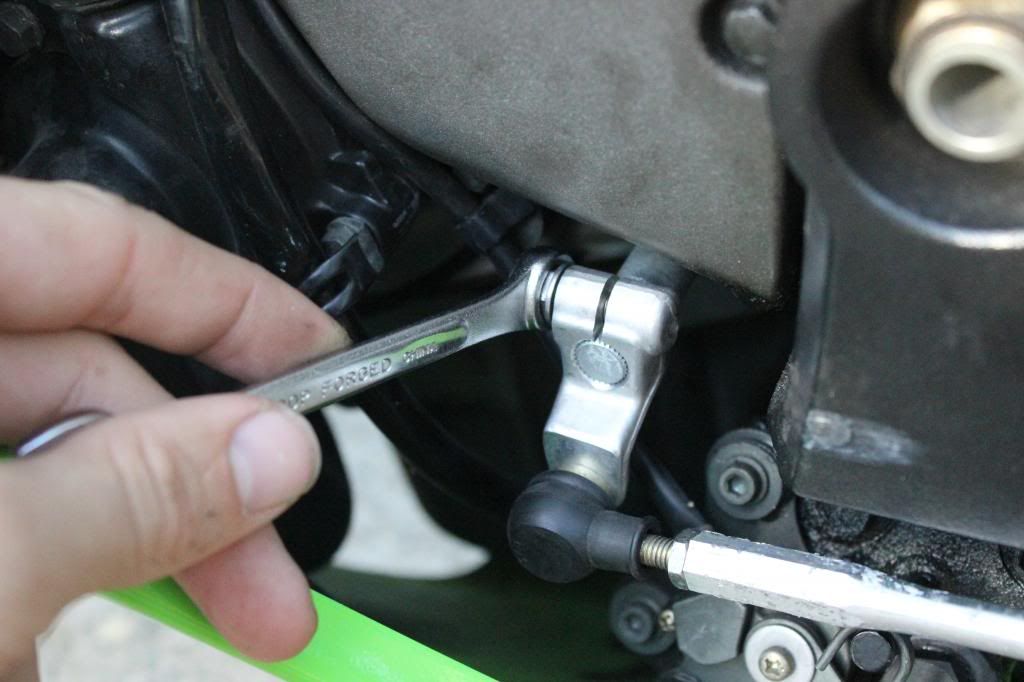
- 10mm wrench
- 6mm allen wrench
- about 3/8in worth of washers that will fit on the pivot bolt for the shift lever
All you need to do is to use the 10mm wrench to loosen and take out the bold that holds the external shift linkage to the internal mechanisms. Before doing this, take note of where your shift lever is in relation to the frame or something as you will probably want to get it back to being at about the same angle it is currently.
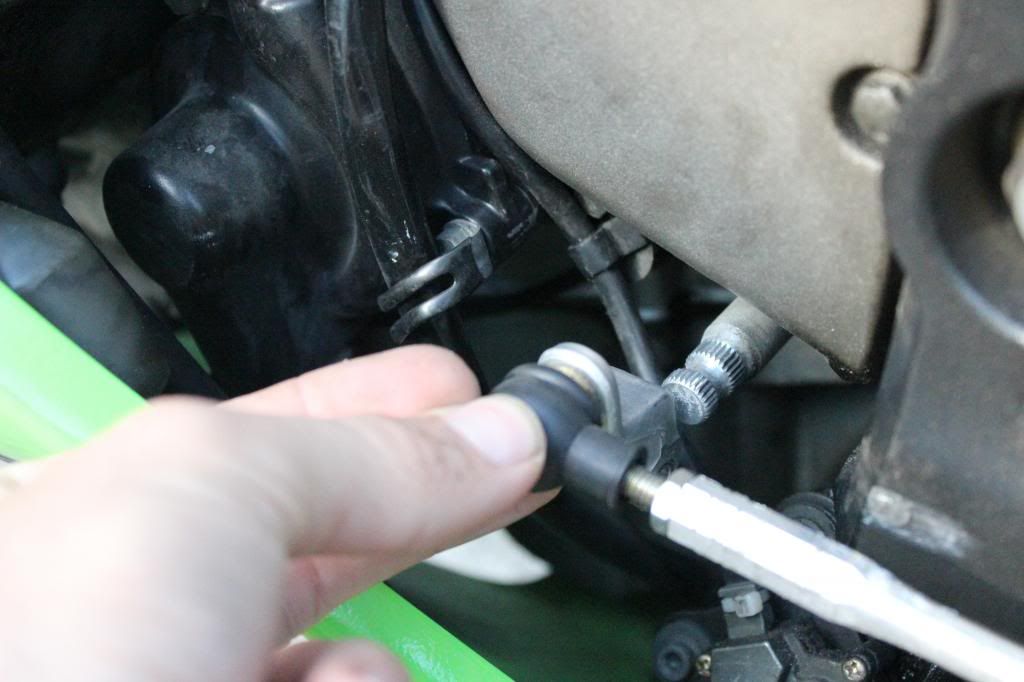 After removing this, you need to flip it upside down and put it back onto the post so that the shift lever is at about the same angle it was before you flipped it over. You'll notice, now, that it won't go all the way on because the arm of the shift linkage comes into contact with the frame. That's ok, leave it for now and come back to it in just a moment.
Now use the 6mm allen wrench to loosen the pivot bolt for the shift lever until it comes out far enough that you can get the other piece all the way onto it's post and put the bolt back in and tighten it up (you won't need to mess with that again).
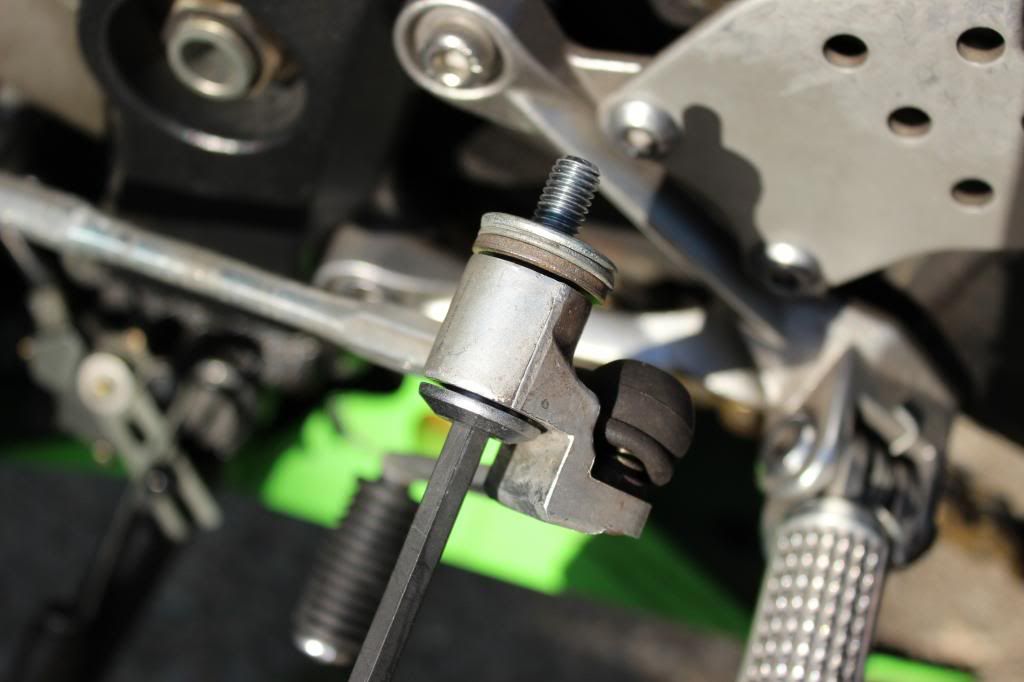 Now all you need to do is take that pivot bolt all the way out and put some washers on it so that it will stay where you have it right now. To do this, just use your 6mm allen wrench to back it all the way out of it's housing leaving the actual shift arm connected to it over the smooth portion of it. Then put on a few washers and put it back in. Do this until you are happy with the clearance between the shift arm and the frame.
The following photos are how it should all end up looking if you've done it properly. From the back:
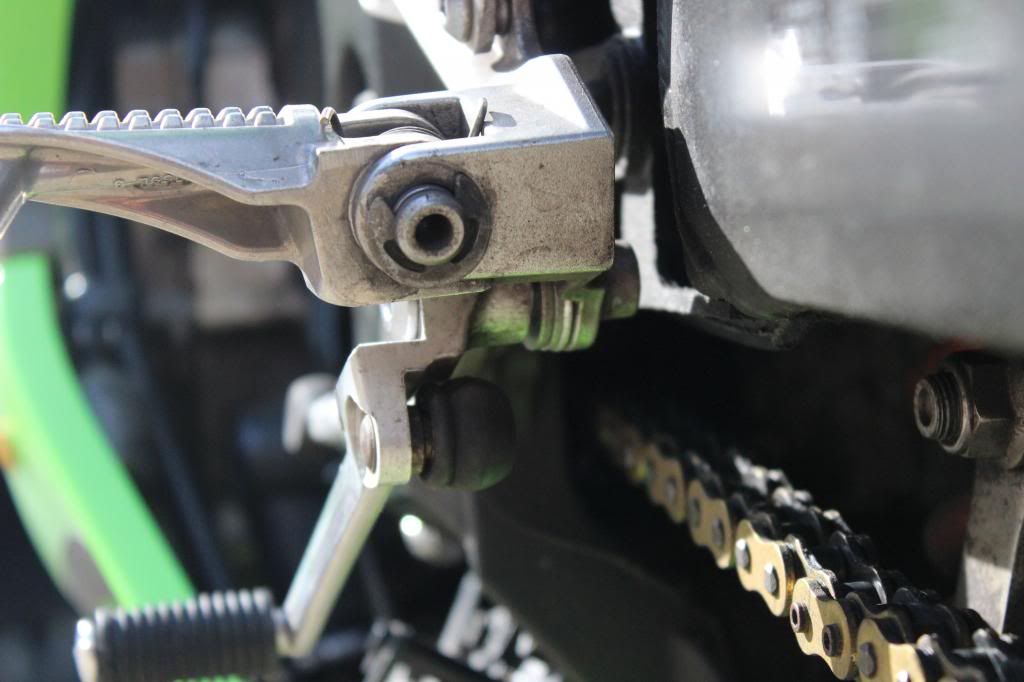
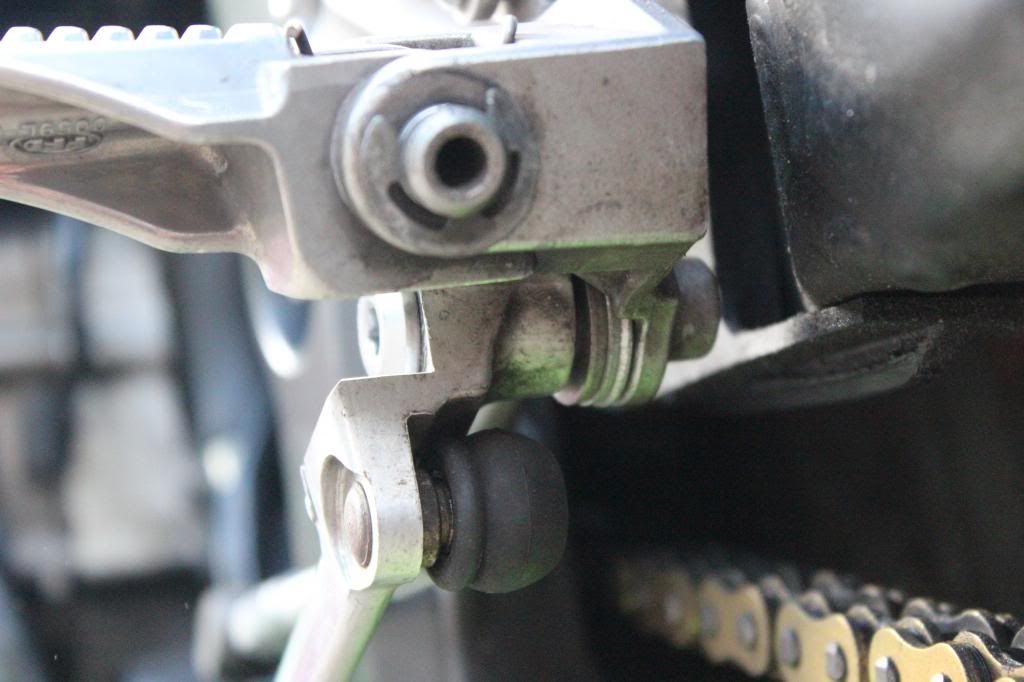
From the side:
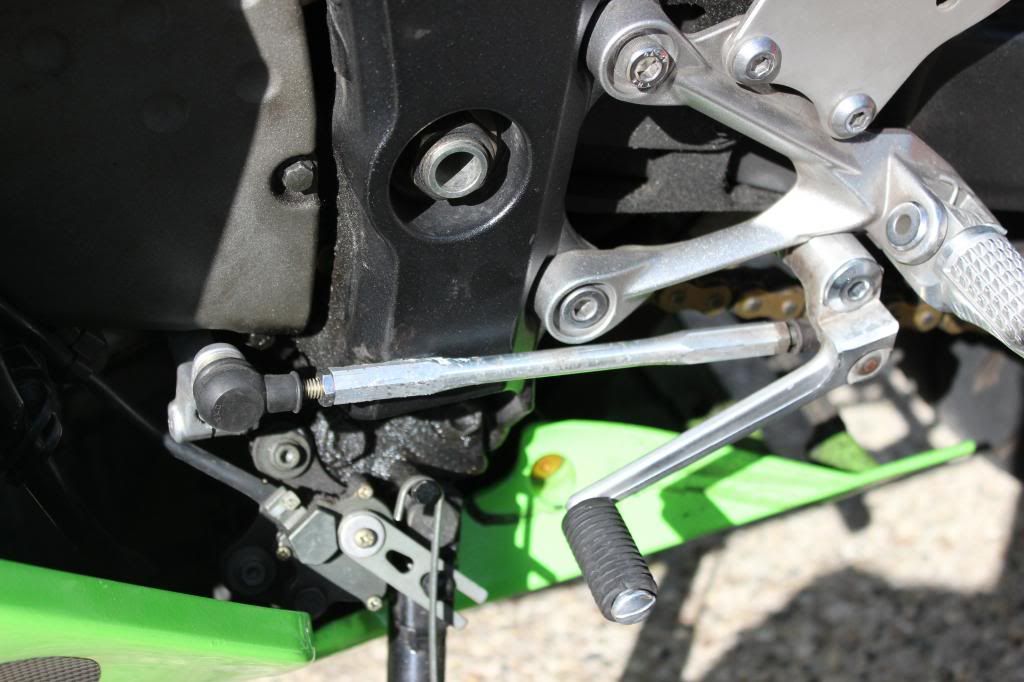
From the front:
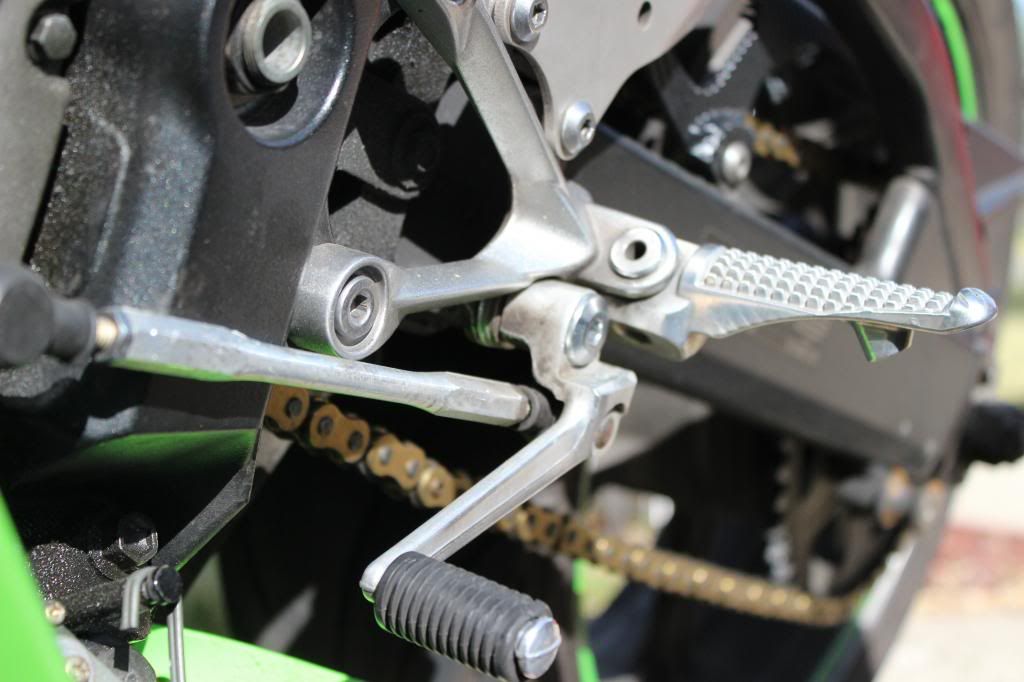
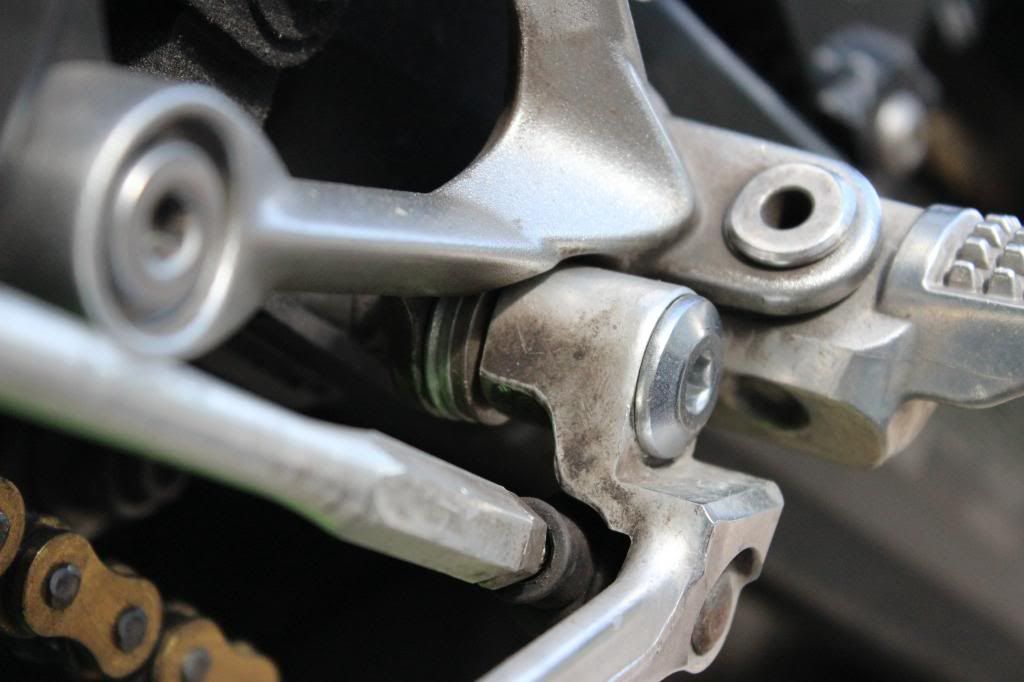
As you can hopefully see, I used 3 washers (ones I had laying around) to shim out the shift pivot so that the linkage would clear the frame. If anything is unclear, please be sure to comment and ask so that I can make sure to address any issues!


